
Virgie’s Wagga Rug
November 2015
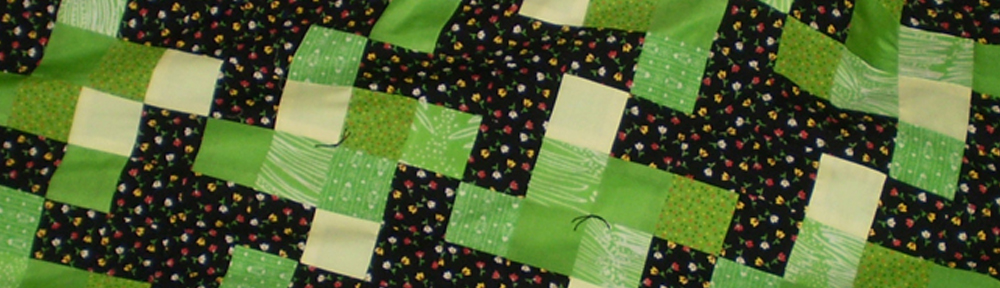
I am intrigued by hexie quilts, but doing a Y-seam or paper piecing method intimidates me. For this quilt, I used the 60-degree angle method, although I think I conceptualized it a bit different than how I have seen others use the 60-degree method. I cut my pieces so that I could work with blocks, since I am so accustomed to block quilting (shown in pic below). If you are looking for a good hexie tutorial, check out Kim’s blog over at Magnolia Bay Quilts.

The fabric I used is wool, which I do not consider to be a very traditional quilting material – I suspect this way of thinking is perhaps influenced by my American upbringing. I had come across TheEclecticAbuela’s blog a while back, and was thrilled to learn that it is not uncommon to use wool in making quilts. And, the story and origin of Wagga Rugs is fascinating.
Years ago when my brother-in-law’s mom Virgie passed away, I had been given stacks of wool that she had planned to use in making men’s suits. Over the years, I had used some to make a pair of slacks and a jacket for myself, but I still have stacks and stacks of this beautiful wool. I am so excited that I can put this wool to use in my Love Hugs project, and I suspect that Virgie would be excited as well that this quilt will give a foster child warmth and comfort. I was amazed by the finished weight of the quilt, which is considerably heavier than the usual cotton blend quilts that I make. I look forward to making more Wagga Rugs from Virgie’s wool!
Virgie’s Wagga Rug quanket was donated to the County of Ventura, Children & Family Services in December 2015.